Till recently, I was using R-3.1.1 on Windows OS. Then on April 16, 2015 (10 days ago), they released R-3.2.0. Upgrading it on Windows was easy peasy, not like the headache Ubuntu gave me.
I recently got a Dell Vostro 14 3000 series laptop with Ubuntu 12.04 installed. I haven’t yet upgraded to Ubuntu 14.04 because the graphics drivers for this computer aren’t available for that version. Besides, I’m not much of a gamer. If I were, I wouldn’t care for Ubuntu!
Anyway, I tried installing by typing the following on Terminal:
 sudo apt-get update
 sudo apt-get install r-base r-base-dev
R did get installed, but not the latest version. A much older version R-2.14.1. I later found out after quite a lot of time spent on StackExchange, that I had to choose a CRAN mirror that was geographically close to my computer, which would then act as a “software source” for the latest version of R. Now that explained why the above sudo commands weren’t getting me the desired version of software. It was because the the Ubuntu / Canonical software repositories only had an older R version. Also, the distribution line had to match the codename of my Ubuntu version (12.04 LTS).
 codename=$(lsb_release -c -s)
 echo "deb http://ftp.iitm.ac.in/cran/bin/linux/ubuntu $codename/" | sudo tee -a /etc/apt/sources.list > /dev/null
Note that instead of http://ftp.iitm.ac.in/cran one must replace it with the geographically closest CRAN mirror. Also, the Ubuntu archives on CRAN are signed with the key of Michael Rutter <marutter@gmail> with key ID E084DAB9. So we type in the following:
 sudo apt-key adv --keyserver keyserver.ubuntu.com --recv-keys E084DAB9
 sudo add-apt-repository ppa:marutter/rdev
Followed by what we would normally have done:
 sudo apt-get update
 sudo apt-get upgrade
 sudo apt-get install r-base r-base-dev
This did the job for me, and I had R-3.2.0 installed successfully on my Ubuntu system. Compare this to Windows, where all you have to do is type in 3 lines (in R, and not Shell):
And to think I left Windows for Linux! I am a Linux newb, and God only knows why I wanted to try out Linux, but on giving it some thought, I think I know why

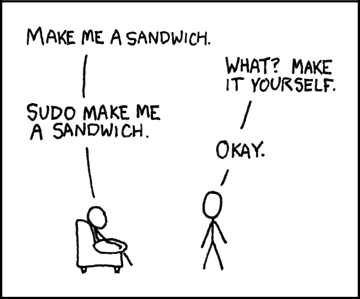
source: https://xkcd.com/456/ and http://xkcd.com/149/
28.575054
77.169262